TEMS (Transmission Error Measurement System, Single Flank Tester)
Transmission Error Measurement System
Gear noise is caused by transmission error. Transmission error means the error that occurs due to relative motion when the rotational motion of the drive shaft is transferred to the rotational motion of the driven shaft. Although, it is common to detect noise using a vibration sensor or a microphone when inspecting gear or gearbox noise, With measurement of transmission error of two gear pairs, Noise detection is available as transmission error has correlation with occurrence of noise.
TEMS is an application that directly measures these gear transmission errors.
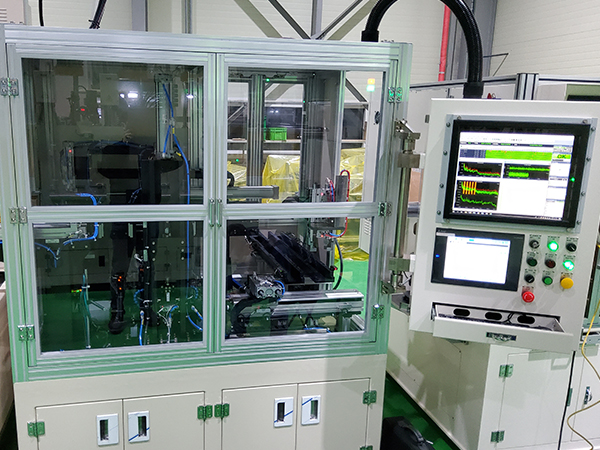
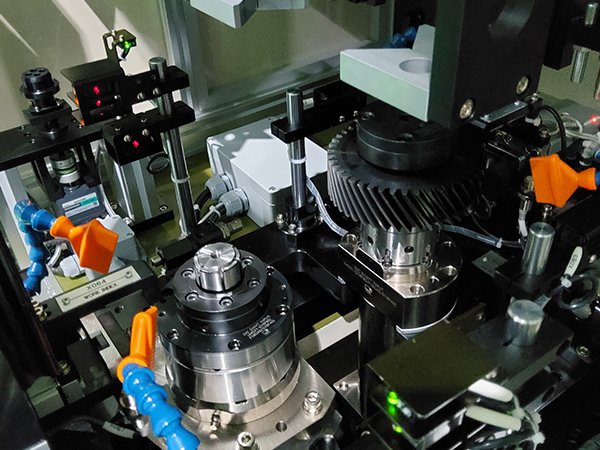
The transmission error measurement system, the single flank tester, is a system that measures the transmission error that occurs when the gears are meshed and rotated using an encoder. It can be applied to gears such as Transmission, Reducer, Rear Axle, and PTU. It is possible to distinguish defective types such as different gears, waves, protrusions, and unprocessed.
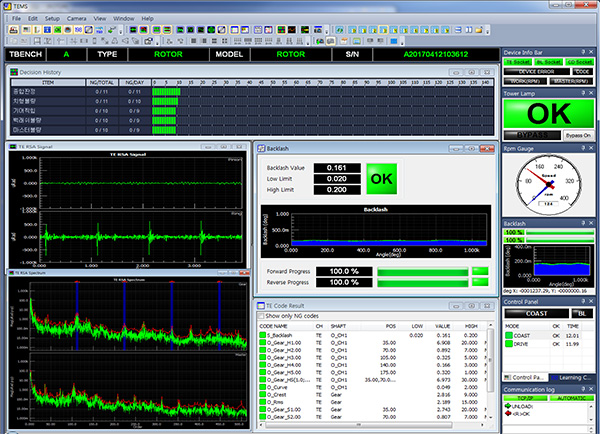
Hardware Specification
| Function | Specification |
|---|---|
| Servo Motor | MITSUBISHI 1.5kW (7.5Nm) |
| Control Mode | Drive : Speed Control / Driven : Torque Control |
| Encoder | 5000 pulse / rev |
| Clamping Unit | Automatic Type (PNEUMATIC) |
| Spindle | < Runout 5 um (Collet : < 5 um) |
| Center Distance | Manual |
| Size | 600(W) x 1000(D) x 1600(H) mm |
| Etc. | Barcode Reading, Vision Camera, Transfer Unit |
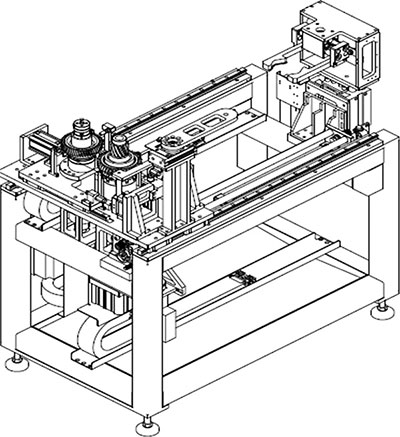
Software Specification
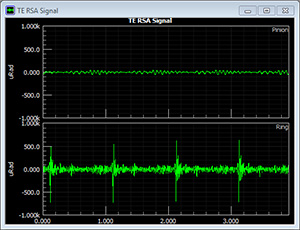
Transmission error revolution synchronous averaging method signal
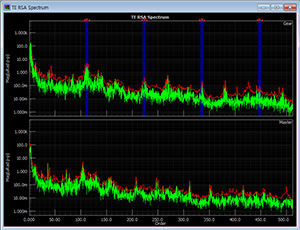
Transmission error
order analysis
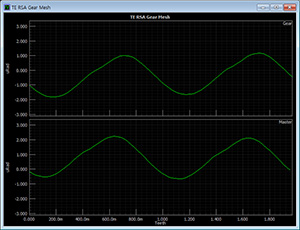
Gear tooth transmission error
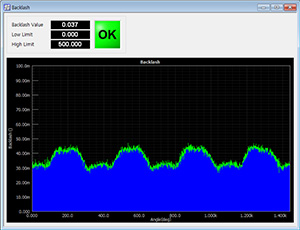
Backlash
| Function | Specification (Software) |
|---|---|
| Measurement | Torsional Vibration : rad/s, urad/s Transmission Error : rad, urad |
| Peak Mode | Rms / Peak / Peak to Peak |
| Revolution Synchronous Average | Max 10 axis support |
| Display Chart | Order Signal / Order Spectrum 차트 Gear Mesh / Gear Wave 차트 Gear Pitch / Runout 차트 |
| Statistics | TEMS-SQL Search / Statistics / Trend Analysis Production Rate Analysis |
| ETC. | Camera VIEW & SAVE / Backlash Measurement |
Fault Defect CASE
We are developing and supplying an in-line gear inspection test benches using gear transmission error. With this Tester, it is possible to perform an in-line complete inspection of minute defects within a few um after tooth grinding. In addition, it is possible to distinguish the types of defects that occur on the gear teeth. For example, it can distinguish gear tooth wave, protrusion, partial unprocessed, dent, OBD defect, and different gears.
Gear tooth wave

Protrusion

Partial unprocessed

Dent

OBD defect

Gear bias fault

Application
Psylogic has been contributing to the annual production of more than 300,000 EA and defect detection by applying the transmission error measurement system to the gear mass production lines of Hyundai Motors, Neo oto, and DIC since 2012.
supporting the detection of defective teeth, gear nick and scales through the initial tryout, and educate/cooperate in managing various codes.
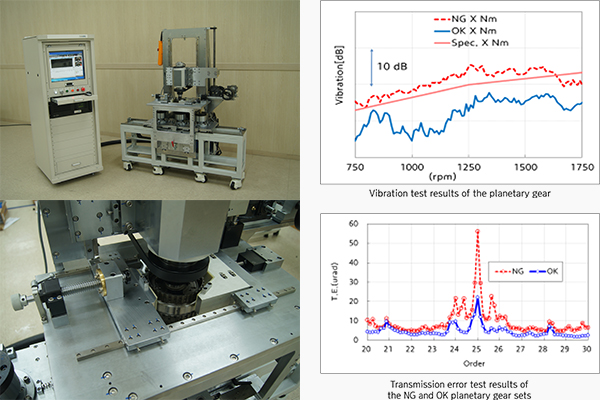
There are few devices around the world that measure the transmission error for planetary gears. Also, it is difficult to configure the load tester. Therefore, in most automatic transmission production lines, after assembling the transmission, a load test is performed, and if the planetary gear is noisy, it is disassembled and repaired. When using the planetary gear carrier pack transmission error tester developed by Psylogic, it is possible to evaluate the transmission error for individual planetary gears and to detect defects such as (1) noise defects and (2) parts binding in advance.
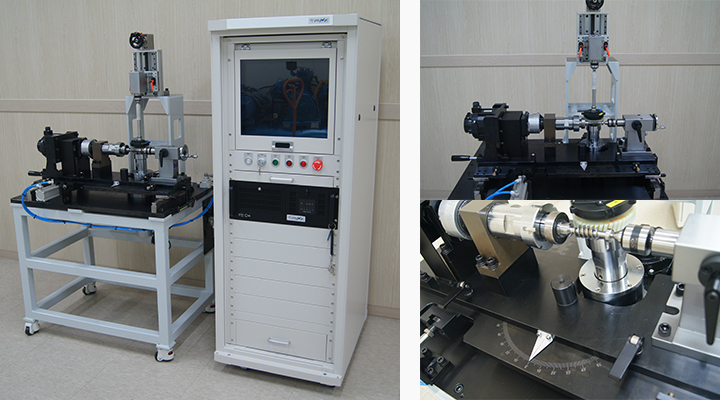
MDPS (Motor Drive Power Steering) is a device that assists steering force using a motor. It has a worm & wheel structure to obtain a high gear ratio. The worm gear connected to the motor rotates the wheel to obtain high torque. However, it is very difficult to measure the degree of meshing between the Worm & Worm Wheel gears.
The MDPS transmission error tester developed by Psylogic can evaluate the steering performance and processing errors of gears by measuring the transmission error between the worm and the wheel.
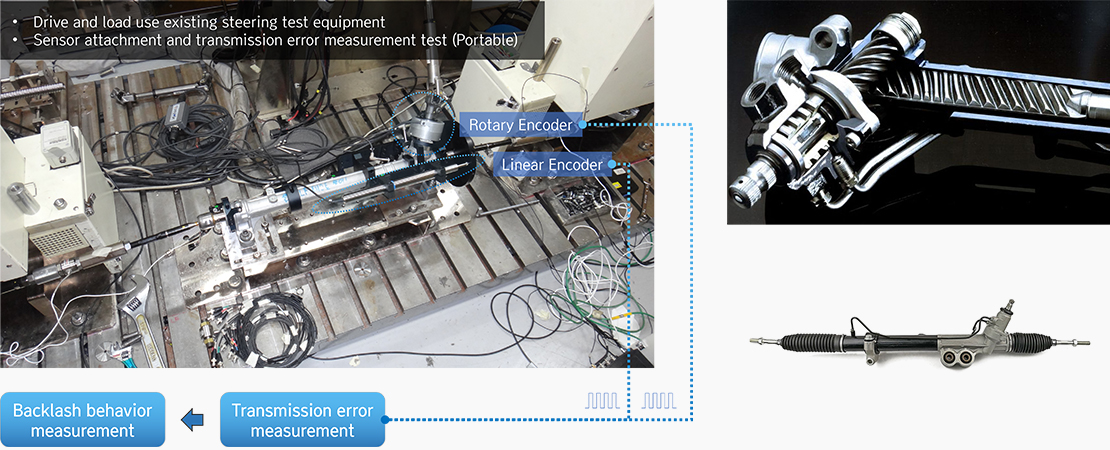
The gearbox of the steering system is a device that converts the rotational motion of the pinion into the linear motion of the rack. In Psylogic, a rotary encoder was installed on the pinion and a linear encoder was installed on the rack to obtain the transmission error between the rack and the pinion. This will be an important factor in identifying and diagnosing the cause of noise in the steering gearbox.
